UV unwrapping is the process of creating a 2D representation of a 3D object, to allow textures and images to be placed directly onto the surface of a 3D object (Denham T., 2019).
Within Maya this is done through the following method*:
- Firstly the model needs selecting and any information that isn’t required deleting. In Maya, when an object is transformed (e.g. resized or rotated), the information is stored and can make it difficult to UV unwrap the model.
- The model is then selected and combined together to create one model, rather than multiple shapes.
- This is then duplicated with one being the mesh and the other being an ID map.
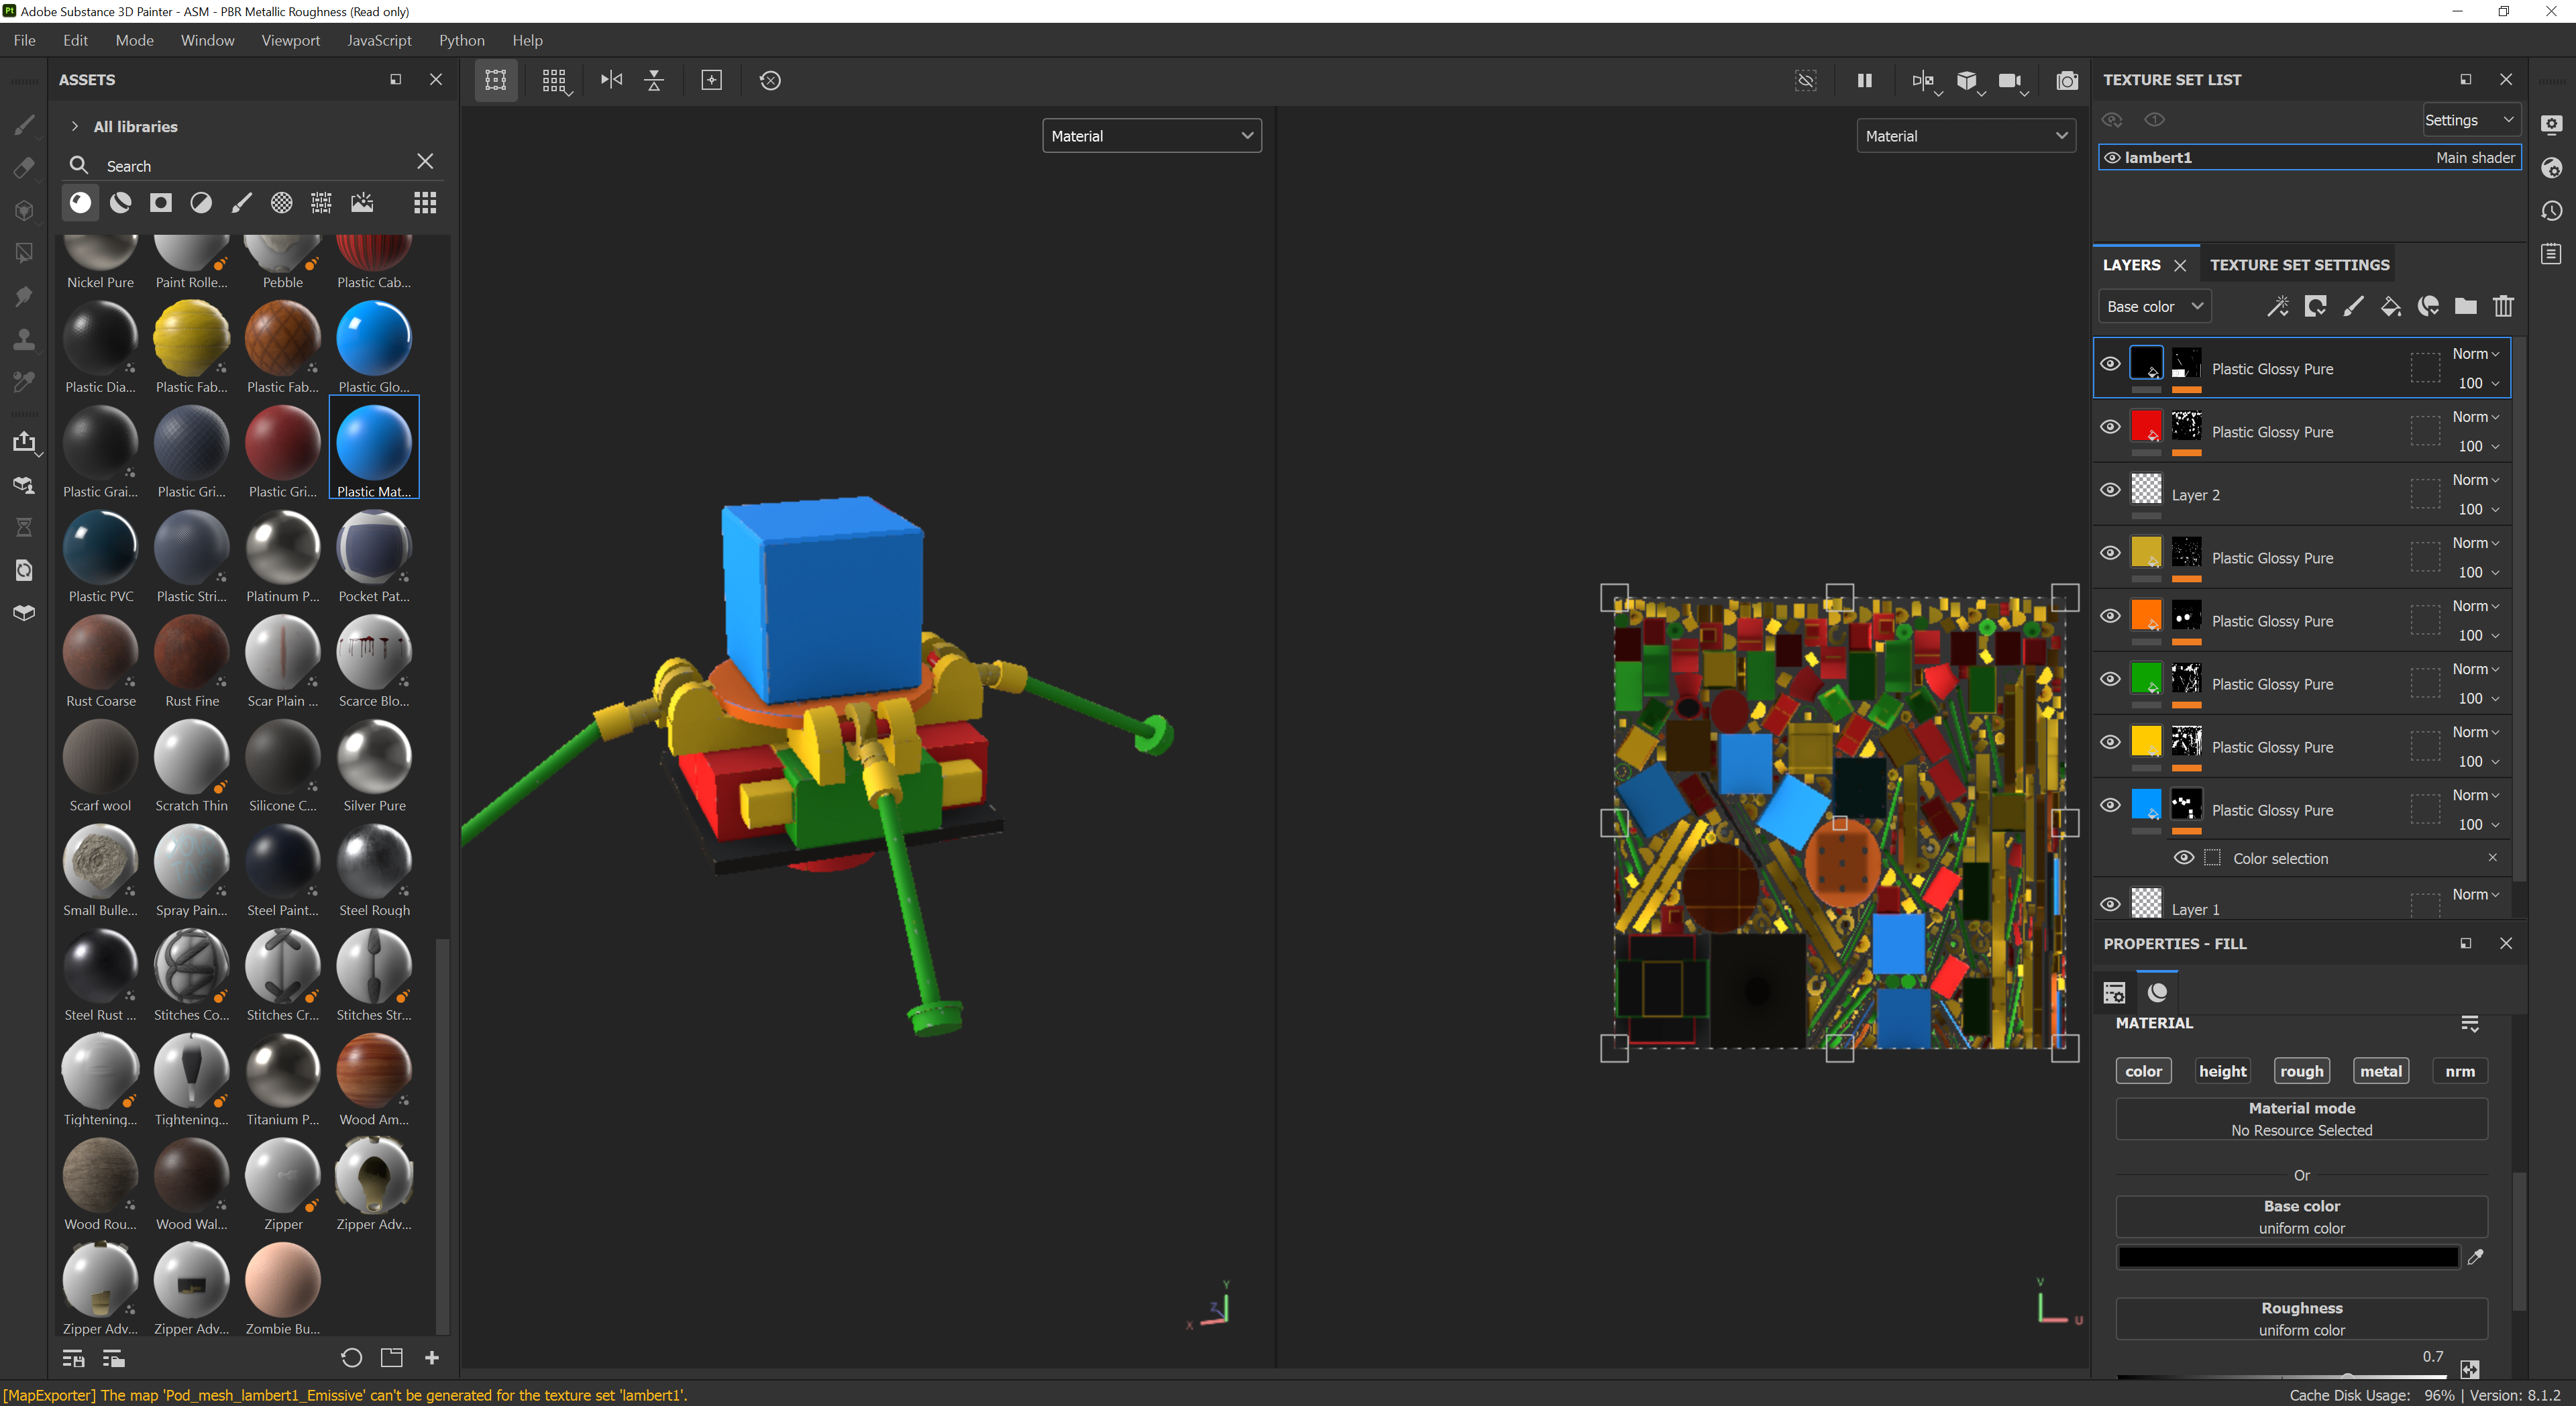
- Once in face mode, each individual section is selected and assigned a colour, which can then be linked in substance painter to assign materials to the specific sections.
- Next, each individual model is selected and in the UV editor, under create, you can select automatic to create the UV map.
- This is then imported to substance painter and materials assigned.
- Once happy with the appearance of the UV in substance painter, it can then be brought back into Maya and applied to the model.
*There are other methods to manually unwrap the UV in Maya, this is just the method I used as it was the simplest way to get the effect I needed for my model.

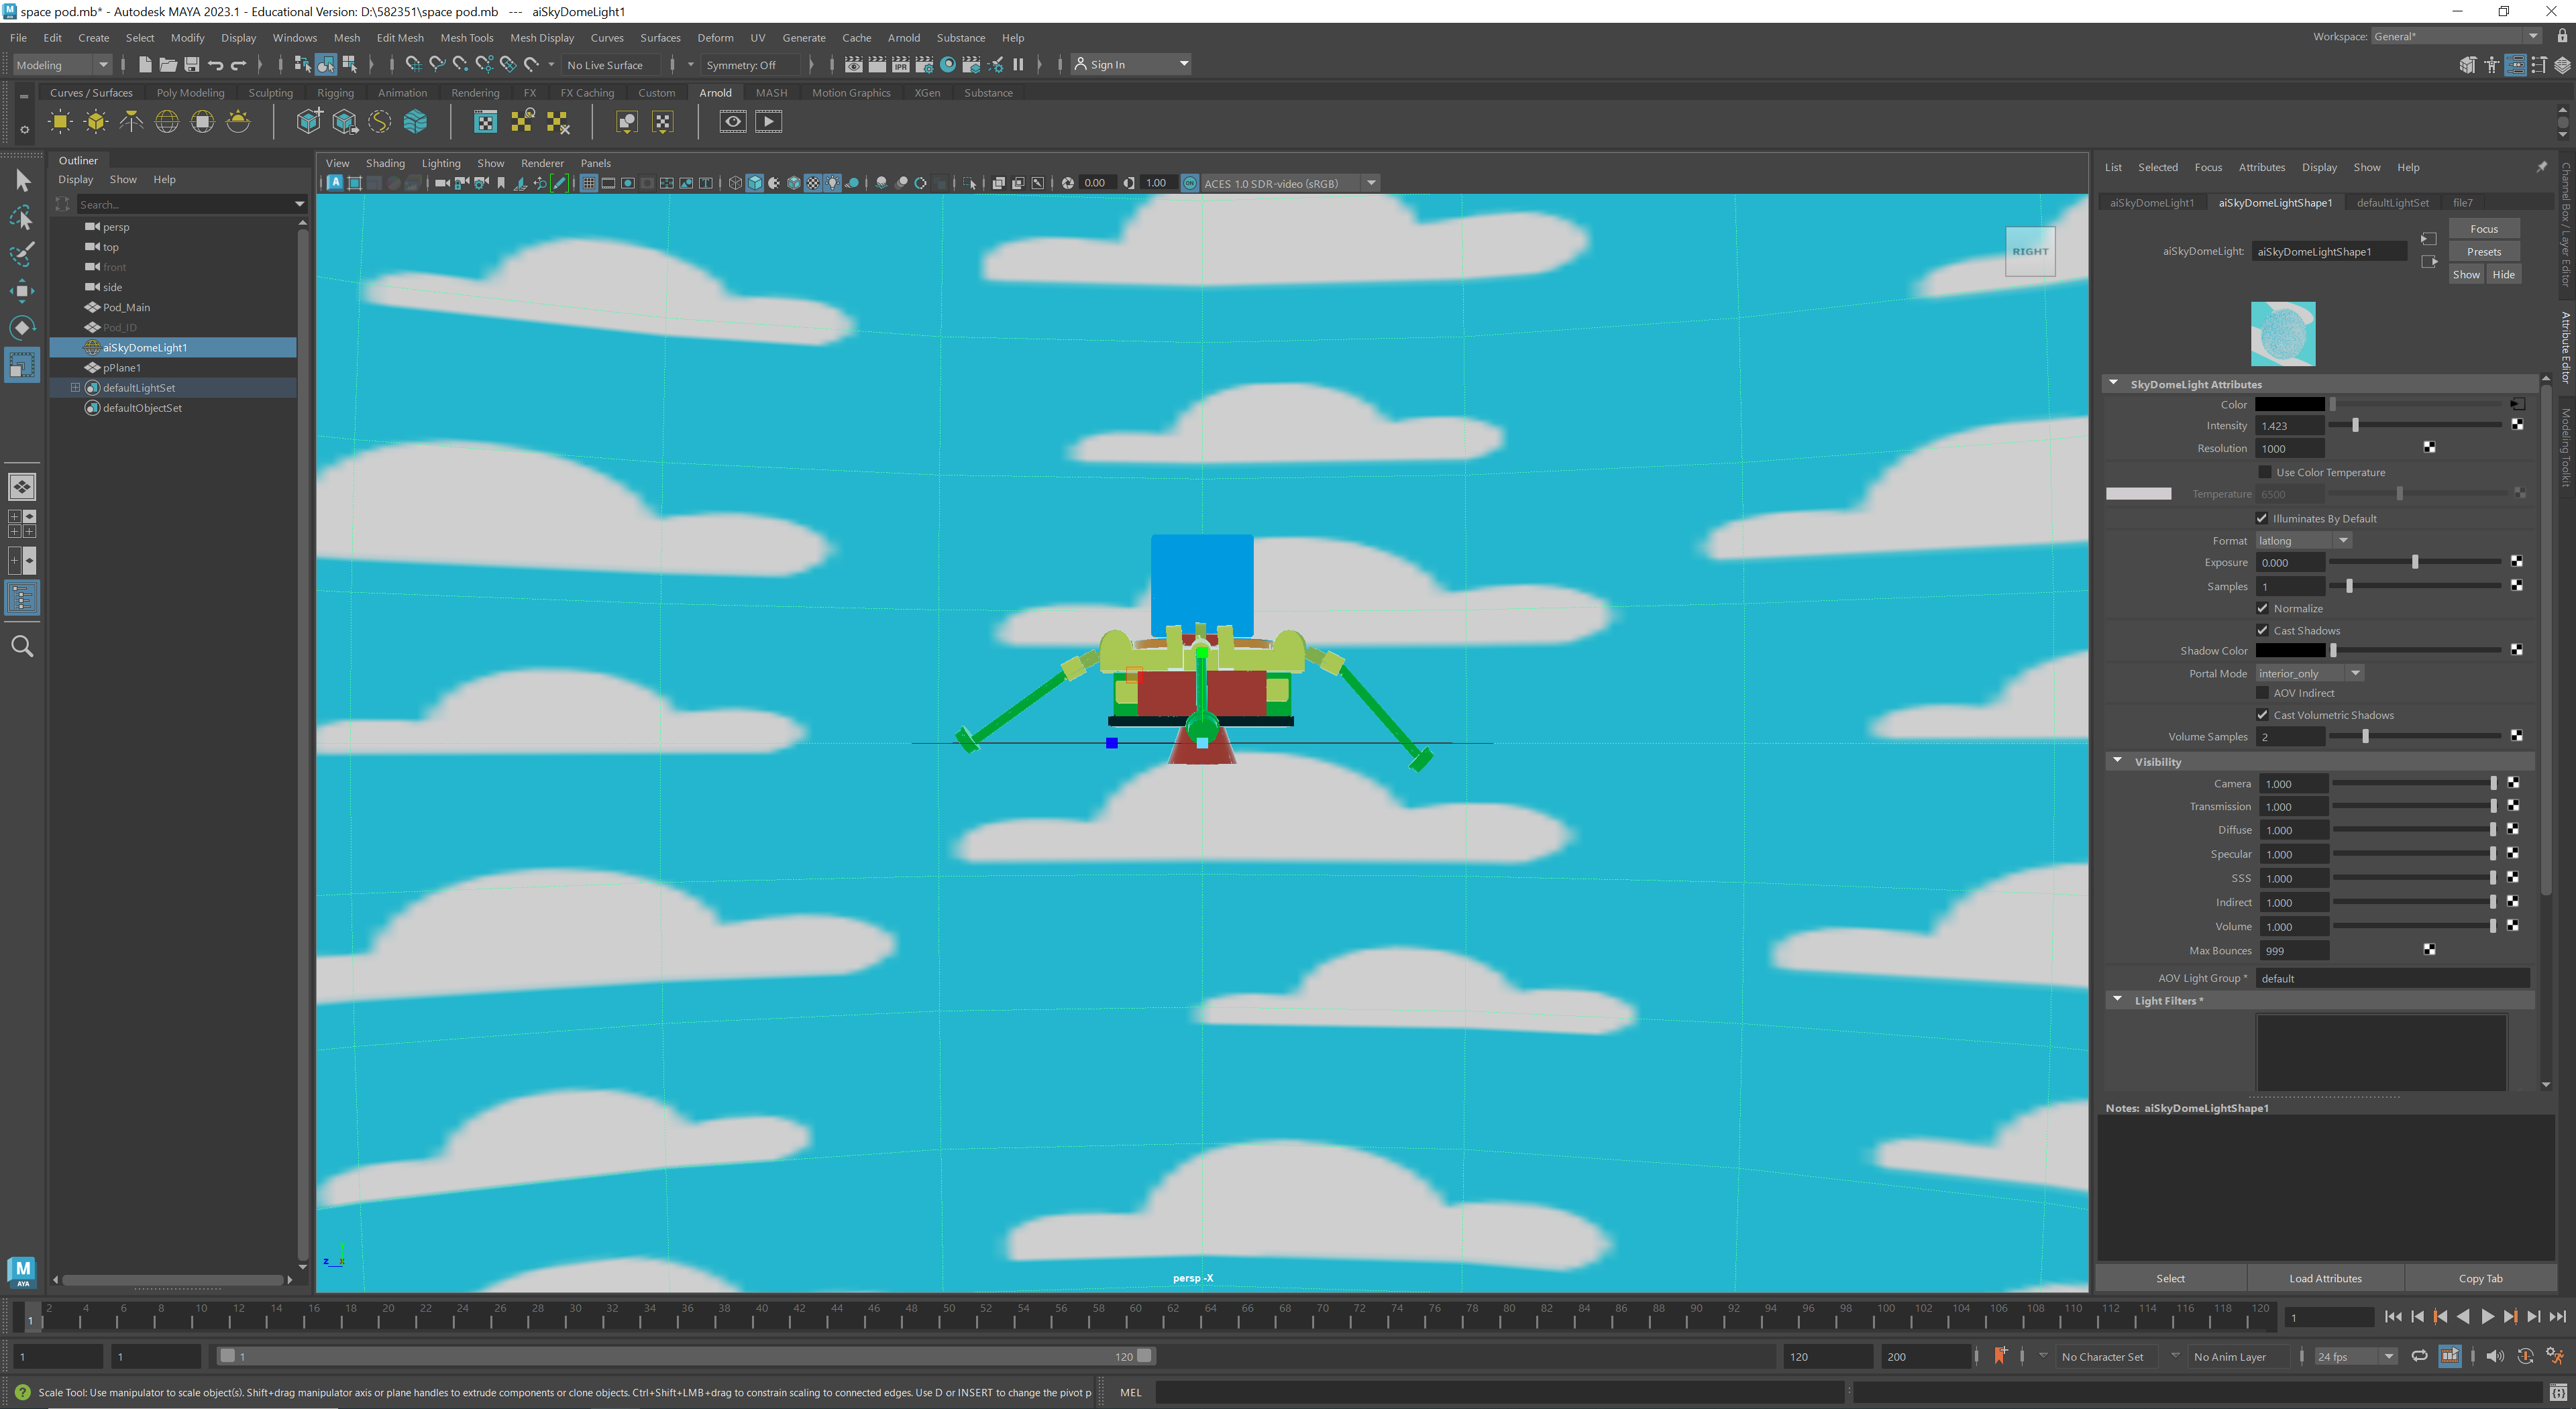
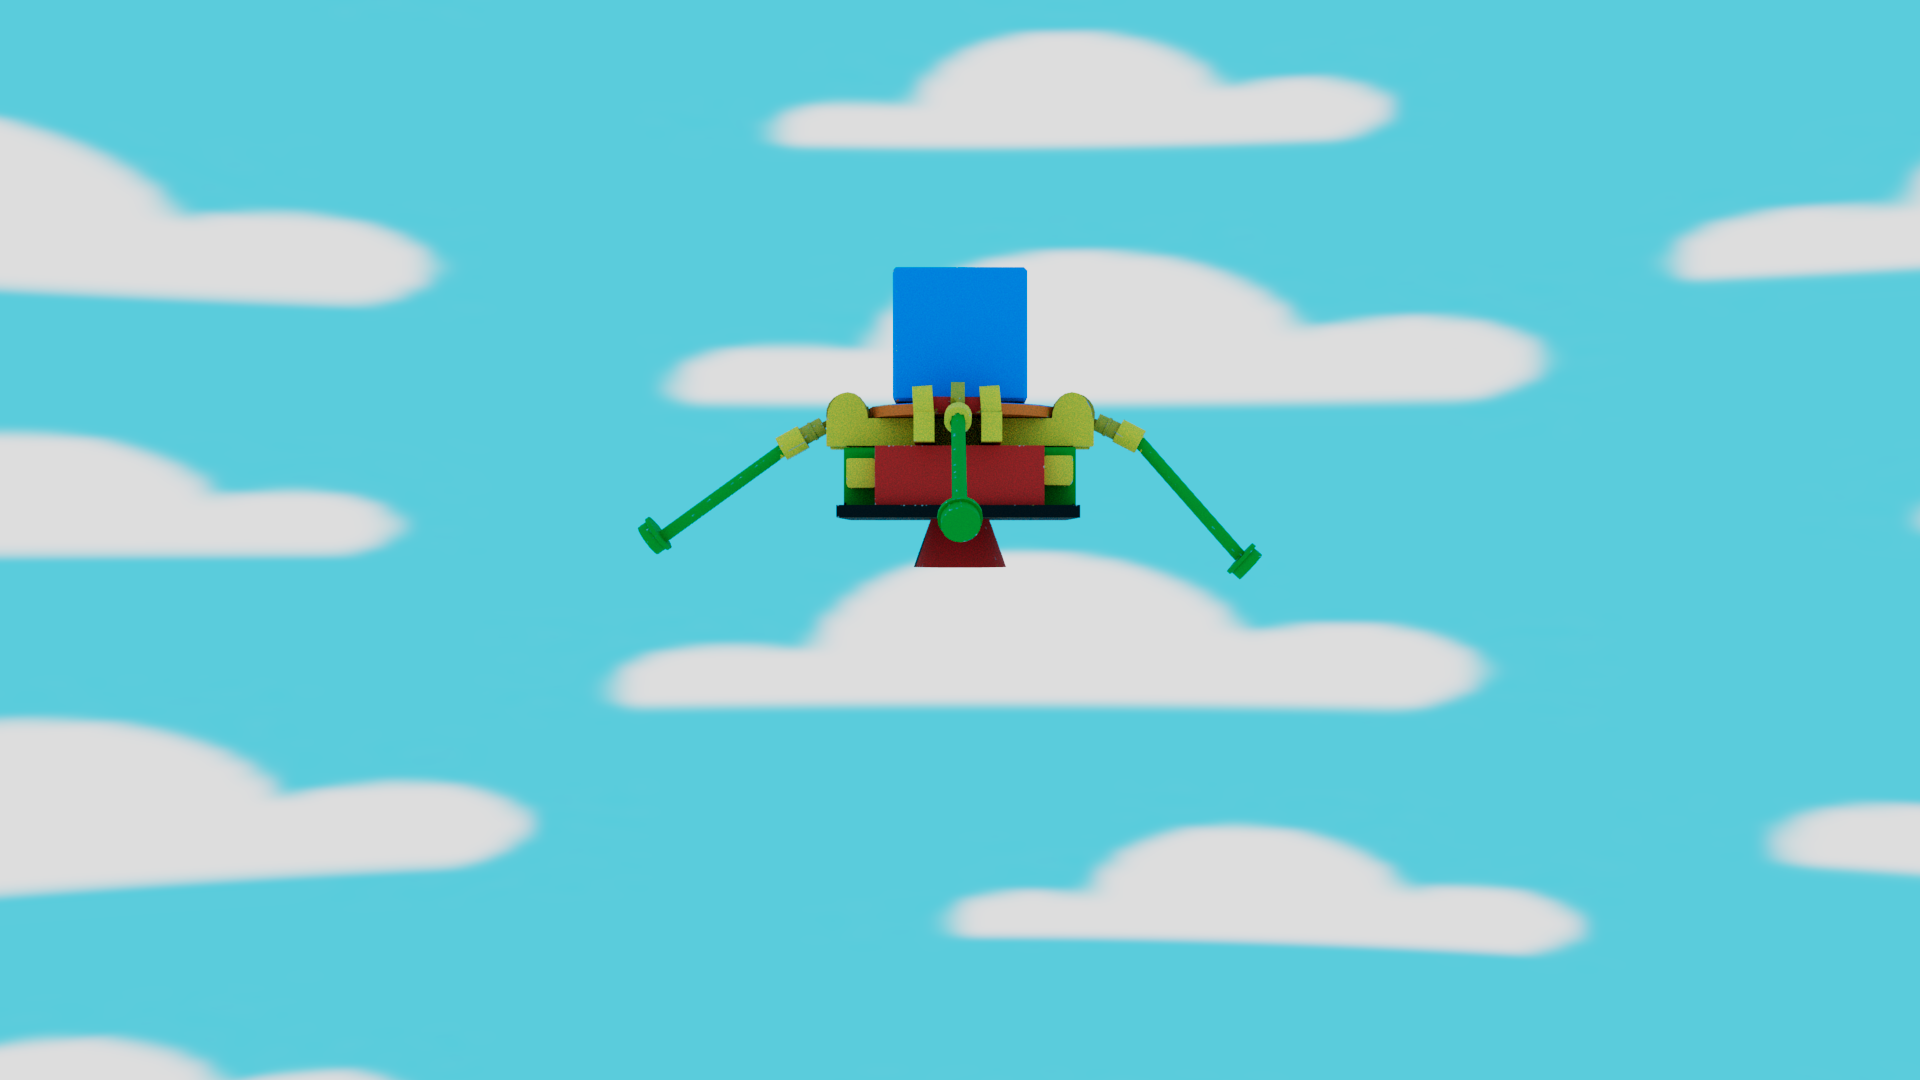
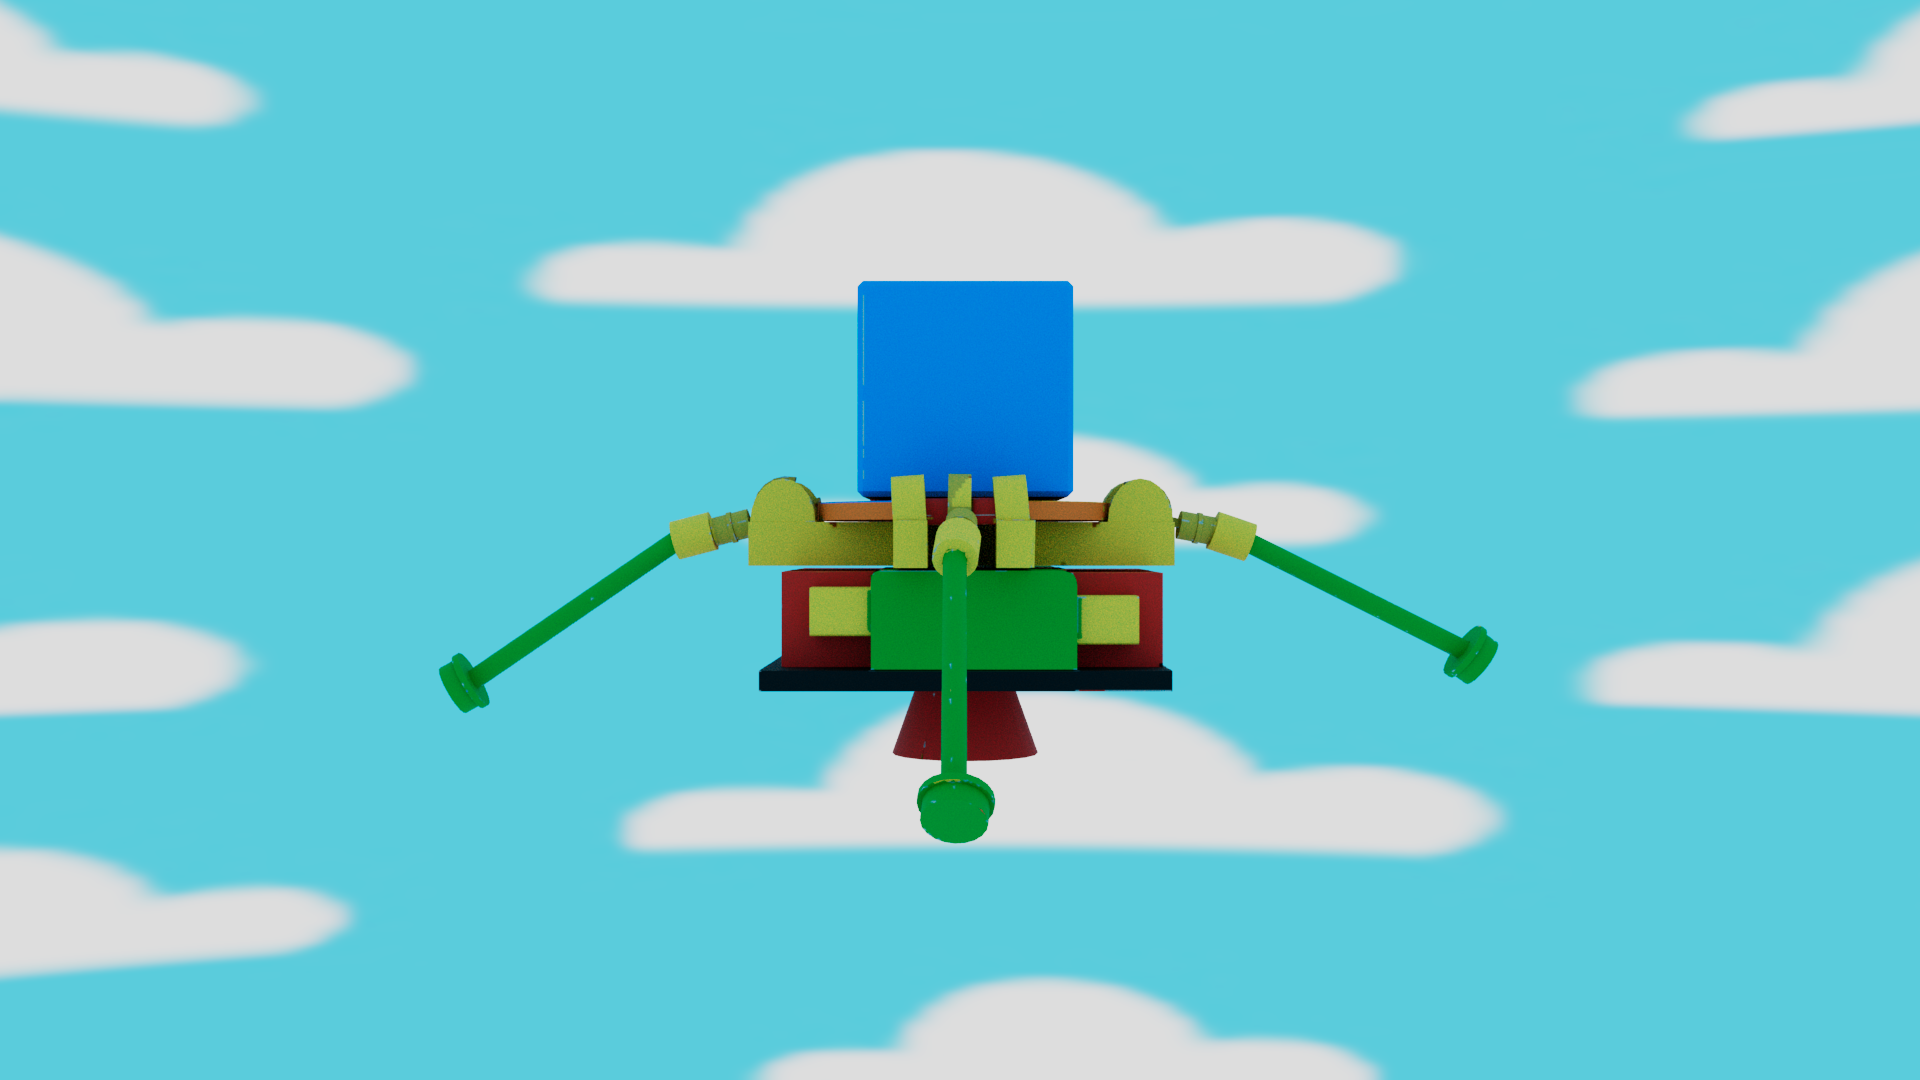
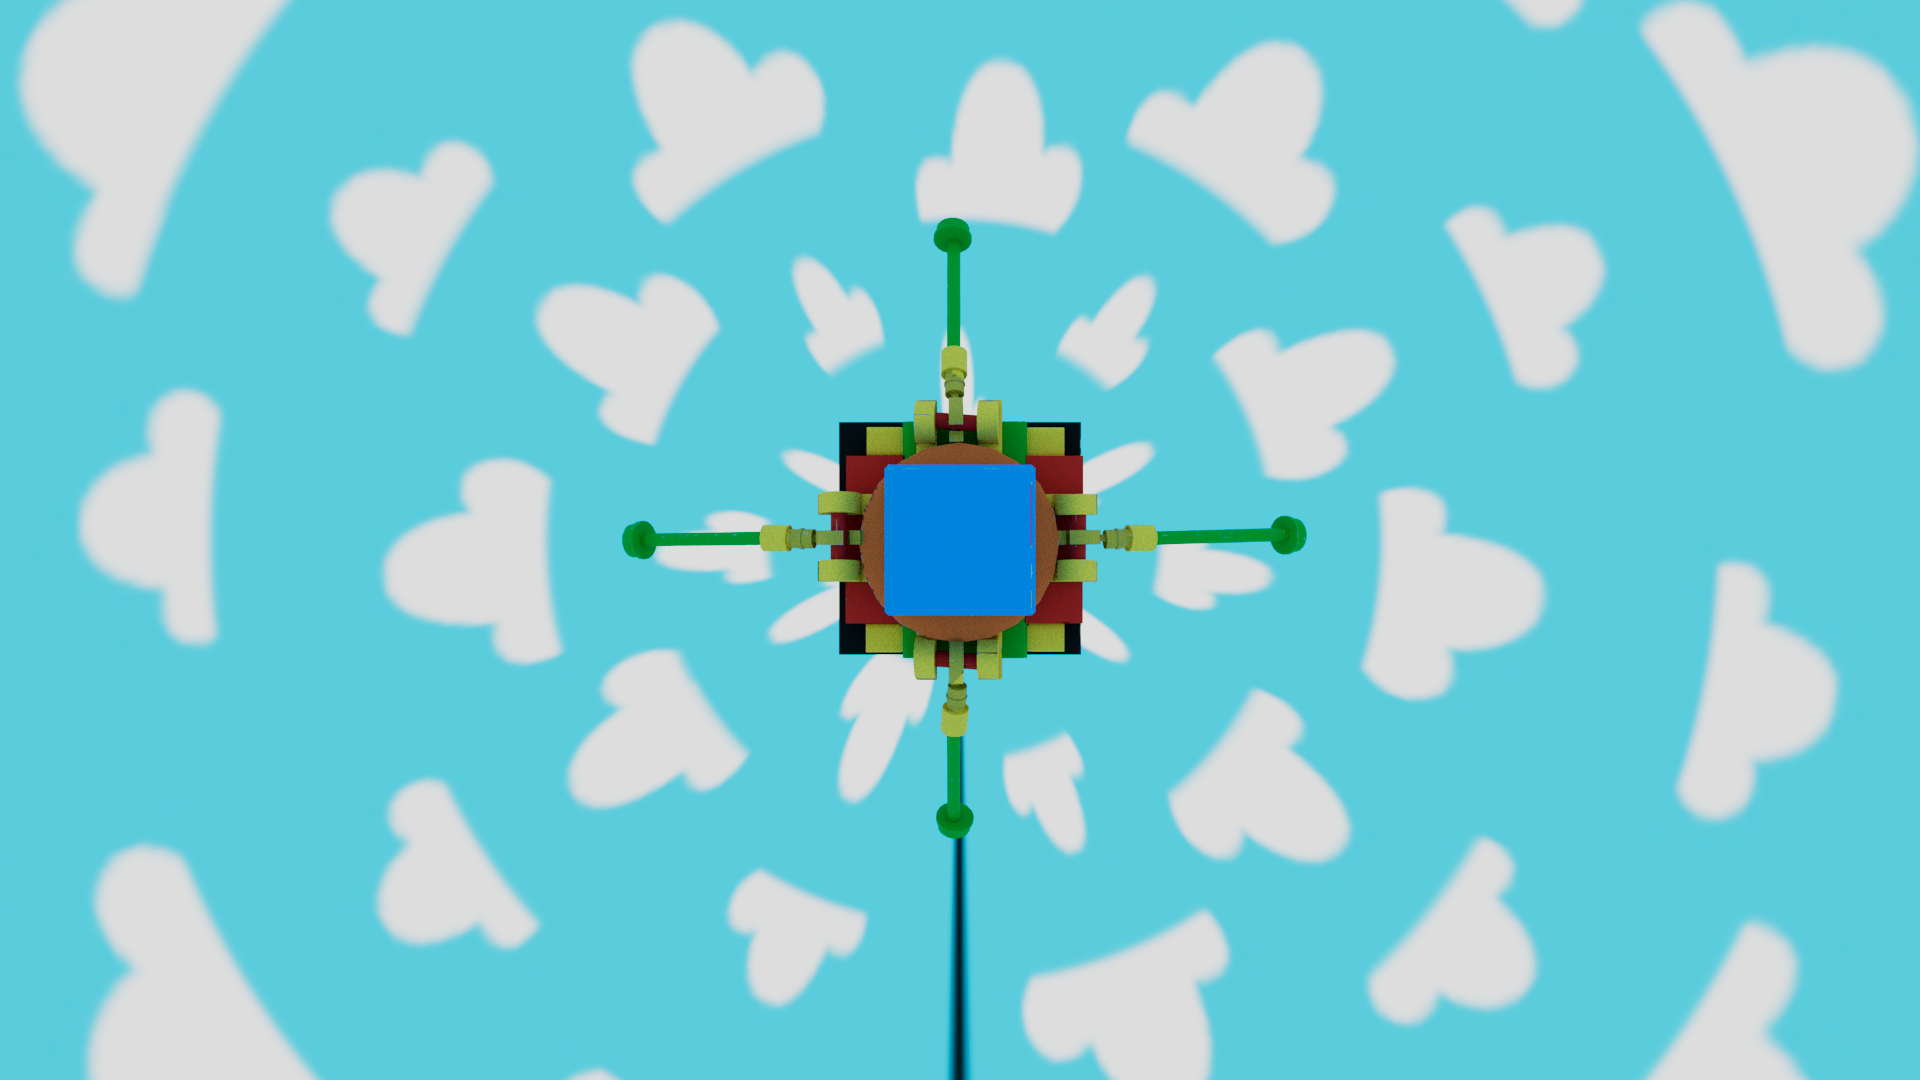
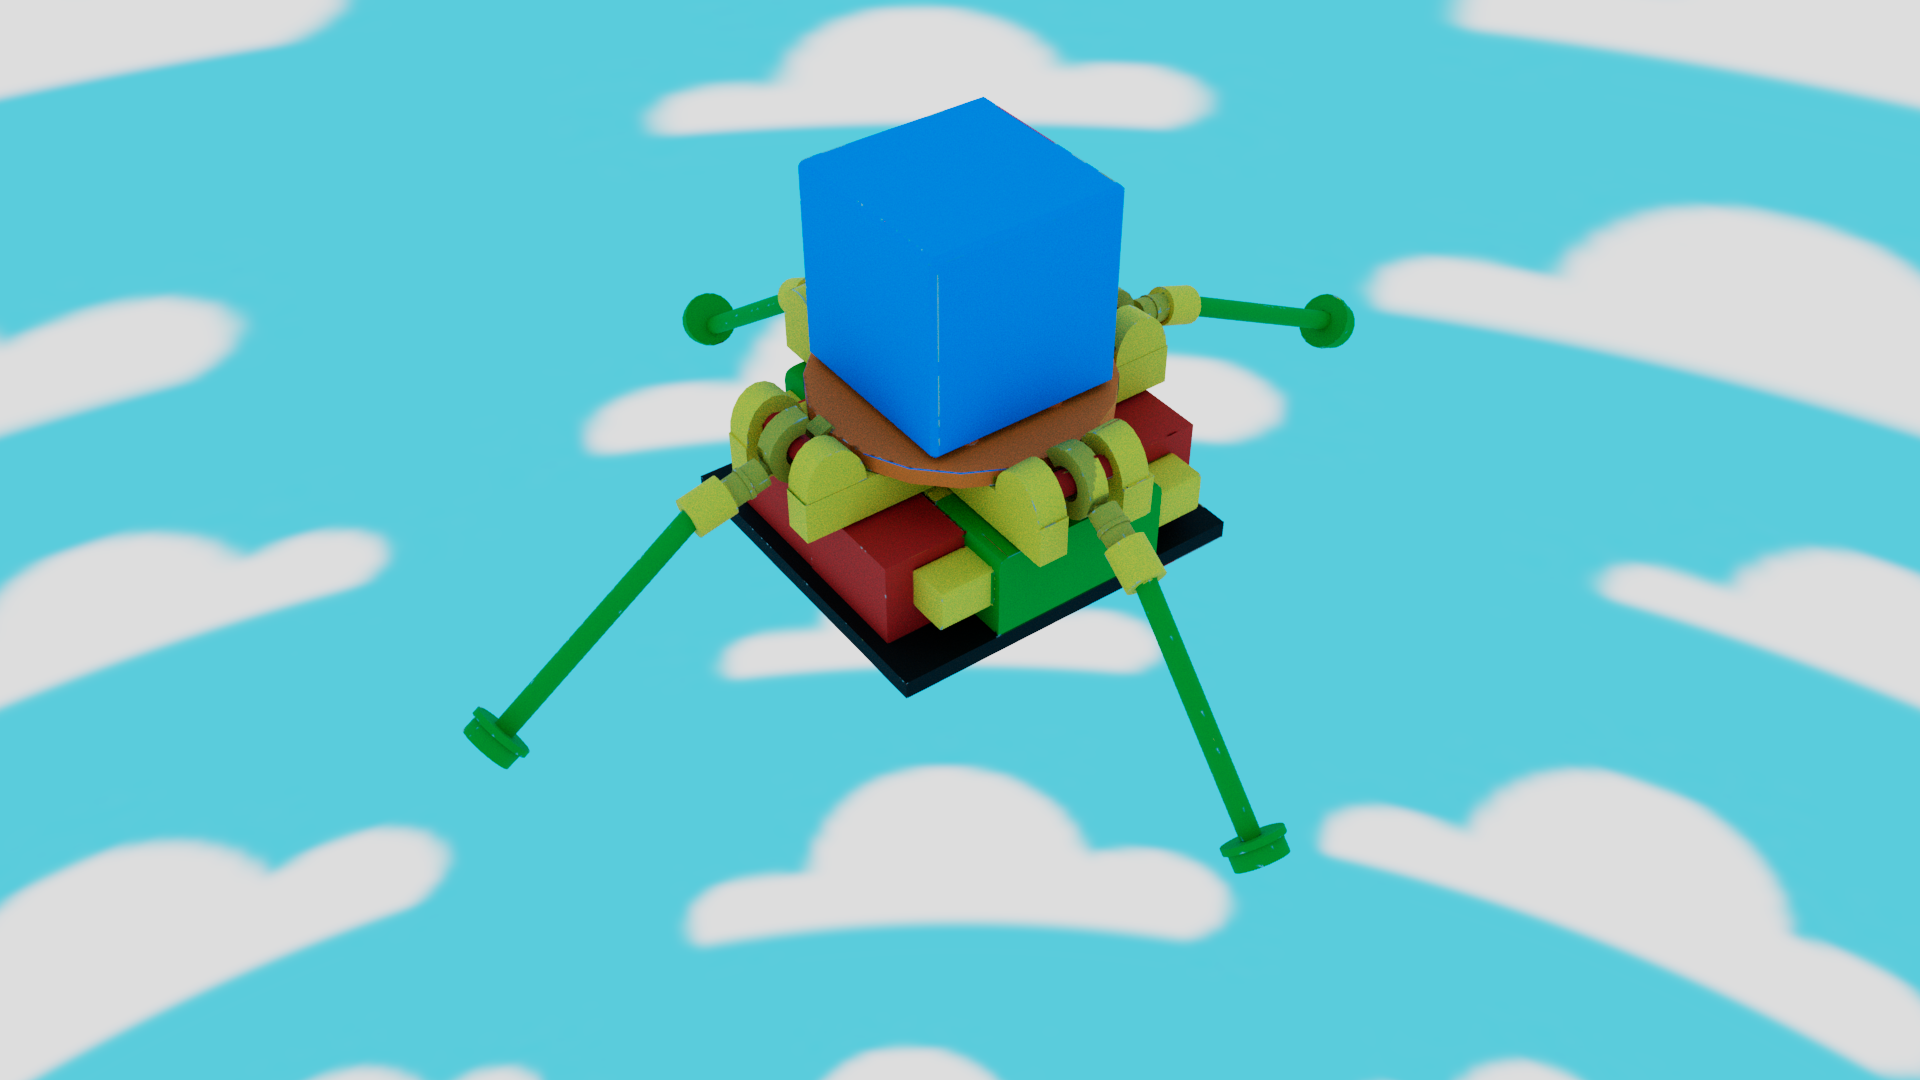
For my model I wanted to create a Lego themed escape pod, so I used bright colours and used a glossy plastic material to give the model a plastic block look. I then created a simple sky background to keep with the child-like/ toy theme in illustrator and applied this to the scene, ready for animating.
Reference list
Denham, T. (2019). What is UV Mapping & Unwrapping? [online] Concept Art Empire. Available at: https://conceptartempire.com/uv-mapping-unwrapping/.